Tuesday, September 27, 2016

"Listen Within"

I'm trying to focus more on myself. I discovered the practice of mindfulness as a way to help combat my anxiety and while it can be hit and miss for me, I know that I'll never get better at it if I don't try. Pretty much everything in life is that way. I ended up working a bit of mindfulness into my art journal.

Something else that I've been working on is faces. A few months ago, I was sketching and coloring a face at least once a week. Then something happened. I stopped doing faces and took a break. My first face in quite a few months is the purpose of this blog post.


It started out rough. The background is craft paint over stenciled gesso. A second stencil is visible above the first layer with Apple Barrel's "Too Blue." Then we come to the face. I started out by sketching the shape of the face. I added the neck after that and I have to admit that this guy's neck looks way too thick.


I used a black Stabilo All pencil to outline the face, facial details, and the neck. I love how this pencil blends in with paint when Dina Wakley uses it and I attempted to mimic her technique.


This is how the face looked with the second layer of paint (slightly lighter than the first). I still struggle with highlights and shadows and the Stabilo All pencil kind of helps you fake it. Still, it's far from perfect. I was going to go over it a third time but I decided that even though it has imperfections, there's something simplistic and calming about it.

This is the final result of the page.


Other than the baby blue stenciled dots, not much changed to the face. I rebuilt the structure of the chin with the Stabilo All pencil and avoided going back into the facial details because I like how they look. Is it perfect? No. Am I happy with it. Absolutely.

Monday, September 26, 2016

21 Secrets - Color, Color, Color!

Hello everyone.

I signed up for 3 art classes over the weekend, so I'm probably going to be posting a lot of photos to my instagram over the next few weeks. You should follow me over there by clicking here.
Note: I have to approve your request to follow me so that I don't get spammed like crazy, so forgive me if there's a delay.

That doesn't mean I won't be on my blog in the interim. I'll also be doing some blog posts and an end of the class review. From what I've gathered, 21 Secrets has been around for a few years now. The theme (Color, Color, Color!) is all about integrating color and art. Isn't that awesome?!

I enjoy vibrant color in art and I think I'm really going to enjoy learning from 24 amazing teachers. It's not to late to sign up even though the class has already begun. You can click the photo below to learn more about the class and sign up if you feel inclined to do so. I'm not an affiliate and I won't get any credit for you signing up. I still encourage you to join in on the fun .


Friday, September 23, 2016

Surprise Arrival

My Joggles.com order arrived today and I was taken by surprise. Knowing that my order was going to be traveling from Rhode Island to Washington state, I had it in my head that it wouldn't arrive for at least a week (you know, like those Amazon packages).


Opening it up was like being transported into a candy store for the first time as a child. I've been wanting both of these products since I heard about them and I was happy to find them at reasonable prices.

I'm gonna be busy this weekend!

"An Artist's Life" - An Art Journal Page

 I was looking for some fun stickers that I could implement into my art journal pages a couple of months ago and I found quite a few that caught my eye. One of the stickers that I purchased worked great for the page I created.
© Leslie Evans       [to purchase]

To begin the page, I decided to use the 5.5" x 8.5" Canson Mixed Media journal that I've been working in. The paper weight is 98 pounds and it can take quite a few layers of paint, gesso, and texture paste. The smaller size makes it ideal for pages that you want to dry quickly between layers without the need for a heat gun (I don't like the fumes).

I started with a layer of Apple Barrel's New Shamrock (21479). Once dry, I applied a few 1" lines of Art Basics white gesso and used a shaped Catalyst palette blade (C-64) to spread it around. The result was the boxed/lined texture that almost looks like tire tracks. The hardest part was waiting for the gesso to dry because it was still in clumps in some areas and I wanted to make sure that it was thoroughly dry before I added another layer.

I covered up the background and gesso with a bit of Yellow Flame (21474). I used a brush to spread the paint evenly and placed down one of Patti Tolley Parrish's round stencils (Dot Maze Round) before the paint had even started to dry. Using a baby wipe, I lifted the yellow out of the stencil areas to create a contrast between the two colors. My next step was to apply a thin coat of Liquitex Airbrush Medium over the page to give it a little bit of a shine while also binding the three layers together.


Once that dried, I used Apple Barrel's Black (20504E) paint and applied it with a makeup wedge through Tim Holtz's arrows stencil. I used a couple of them and once dry, I lined inside of the arrows with a white Uni-Ball Signo pen. I was trying to go for a haphazard look without going outside of the line.


I found some matching washi tape that shared the black and white theme with the arrows and I used a couple of pieces in strategic locations. Then it came time to add the sticker, but it didn't pop off the page as much as I wanted it to. The solution was simple. All I had to do was outline it with a black Pigma Micron pen.


I'm really happy with the outcome. I like how all of the elements are cohesive together and yet the focus is still on the great sticker I found on Redbubble. If you haven't taken a look at all of the amazing art that people sell on that website, I encourage you to check it out.


Tuesday, September 20, 2016

Organization and Anxiety

I've lately realized that there's a correlation between organization and anxiety. Creating art calms me down, but nothing sends my blood pressure up and brings on the anxiety like not being able to find something that I'm looking for. There have been times where I've had to substitute things because the item I'm trying to find can't be located.

I had pens in boxes and organizers all over my house. I had washi tape in a variety of locations around my room because I didn't have one place that would fit all my tapes in an way that easily let me identify what I had (this is how you end up buying three of the same item). I did have all my craft paint organized because I bought a toolbox to put all of it into, but it was a mild annoyance having to pull it out and then put it away once I had finished.

The solution was simple. I needed the things I wanted to use in a place that was easily accessible. Yes, I know it's common sense, but sometimes it seems that we humans go out of our way to make things more difficult on ourselves. With a little money saved up and a solution in mind, I went off to find an organization solution.

Little did I know that I would find everything I needed on Etsy.

The answer to my needs: Organizemore. Based out of Tennessee, this Etsy shop hand creates organization solutions that will help you store your items accessibly so that you can easily find what you're looking for. The hardest part was waiting the six weeks for my shelves to be created, but the wait was well worth it.

I first ordered the "Craft Paint Storage Organizer"that holds 90 bottles.

As you can see in the photo, a lot of the spaces are empty because I'm using up the older bottles I have before I go to the store to purchase replacements. In the interim, I've taken to storing some fine liner bottles in the organizer. They protrude slightly but they are still out of the way.

The second organizer I bought was the large capacity "Craft Marker Storage Organizer."It's great for holding markers, gel pens, and ink pens. I've also found it useful for storing my drawing compass, a handheld single hole punch, and my smaller inking tools. I decided to organize by color since it made the most sense. I'm really happy with it.

The final item I ordered was a custom request. It actually involved me messaging one of the owners, who was pleasant and willing to help me find something that would work within my parameters.

Sorry about the weird lighting. 
They have a great washi tape organizer already but I didn't need one that large, so I asked them if they could make a smaller one. They came through big time!

This thing is perfect for my needs and fits all of the washi tape that I own (with room to grow). Now that I can see that I have gel pens, my favorite craft paint colors, and that washi tape with the skulls on it, I use my supplies rather than hide them away in forgotten places. What a concept, right?

Organizing supplies can be annoying, but these organizers made it easier for me. There are dozens of DIY solutions that may work better for you and I encourage you to check out all your options, but Organizemore does a fantastic job and they will work with you if you need something custom. Visit their Etsy shop by clicking on their shop name above.


*This blog post was composed based off of my own opinions. Organizemore did not give me merchandise in exchange for this review; all products purchased from the company were paid for by me and no one else. I am not an affiliate and I do not receive payment, credits, or merchandise for sending people to their website.
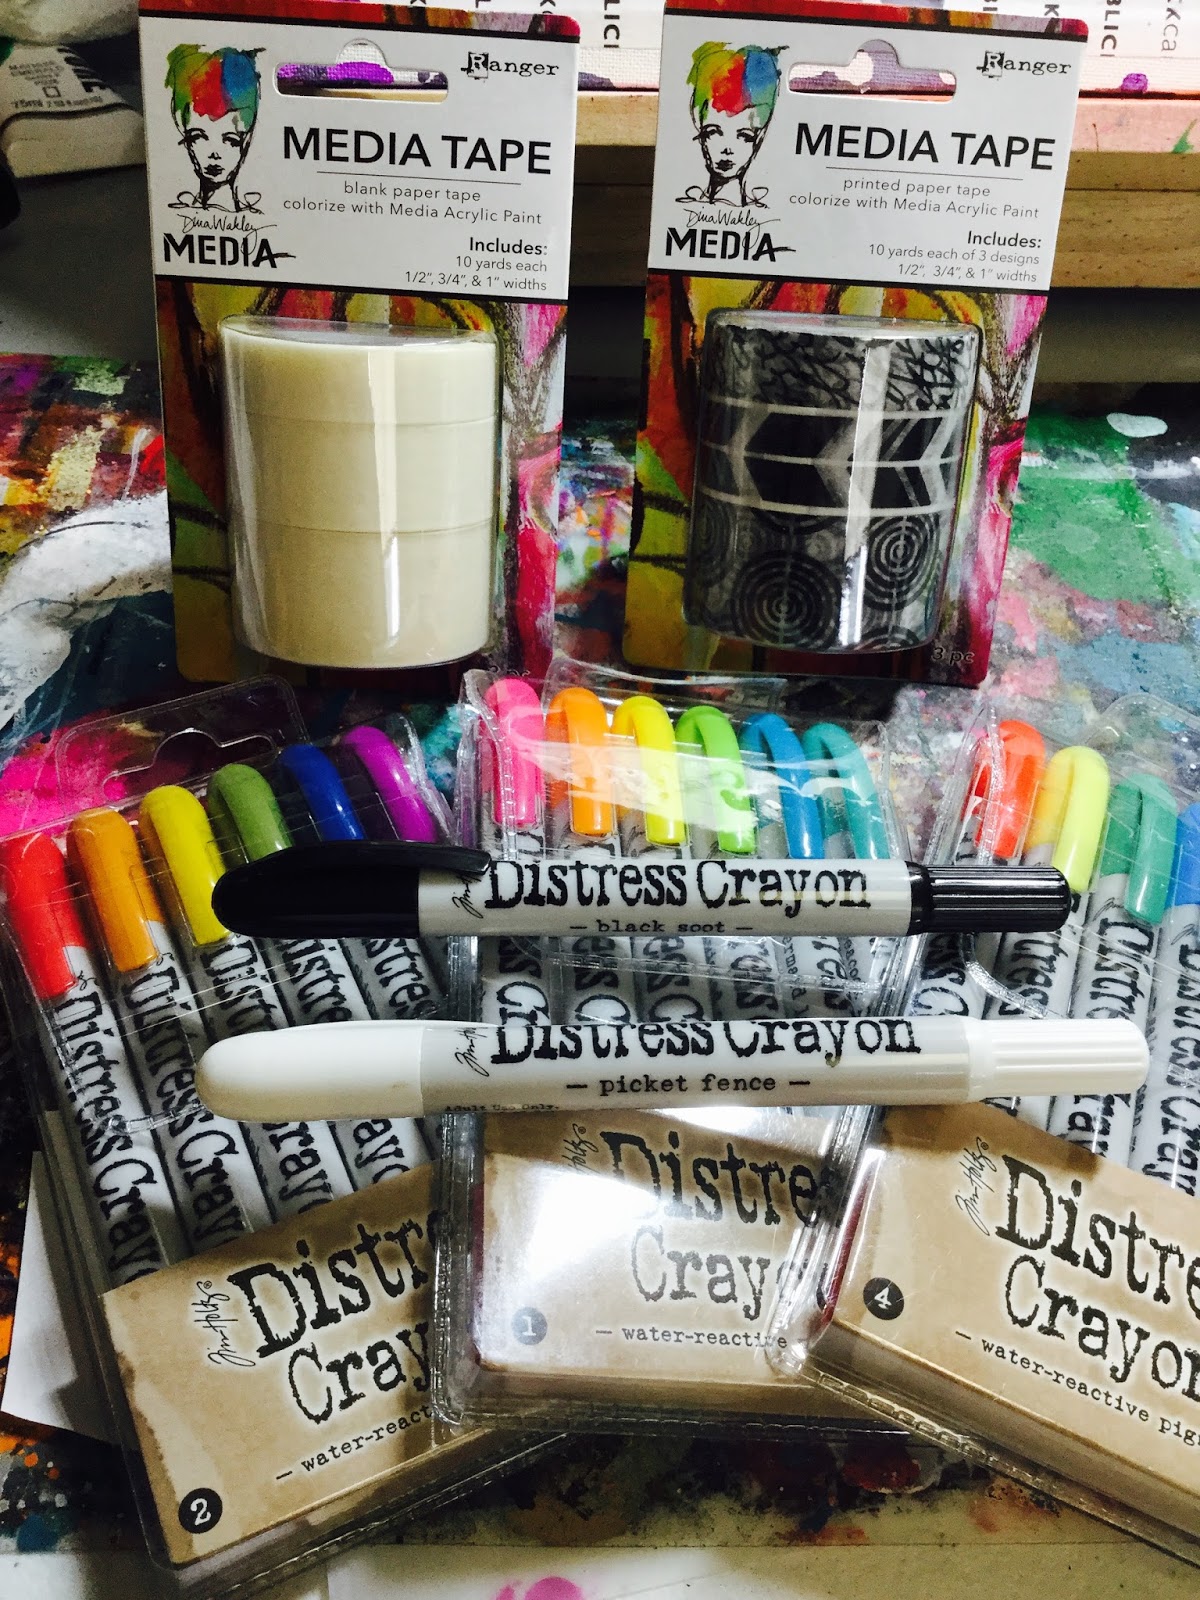
-Bonus Photo-
Can you spot the skittles with all that color?


Saturday, September 17, 2016

Hello there.

Do you remember me? It's been almost 5 months since I've updated my blog. 

The sad truth is that while I have had creative spurts within that time, I've been feeling a little stuck creativity wise for the majority of the time I've been MIA. I'm hoping that the artist's block is on its way out of the door (or back into the box where it belongs). 

I woke up early this morning and couldn't get myself to fall back asleep for anything. So, I got up and got a drink, found my queue of Project Runway episodes on Hulu, and broke out the alcohol inks that I haven't used in ages. I was happy to find that none of them had evaporated or dried out.

If you haven't used alcohol inks before, I warn you here and now: these things are addictive. You can buy specially made card stock or use any non-porous and glossy surface (including domino tiles), but I like alternating the card stock and yupo paper.

I'm very happy with the results.

Until next time, my friends.